
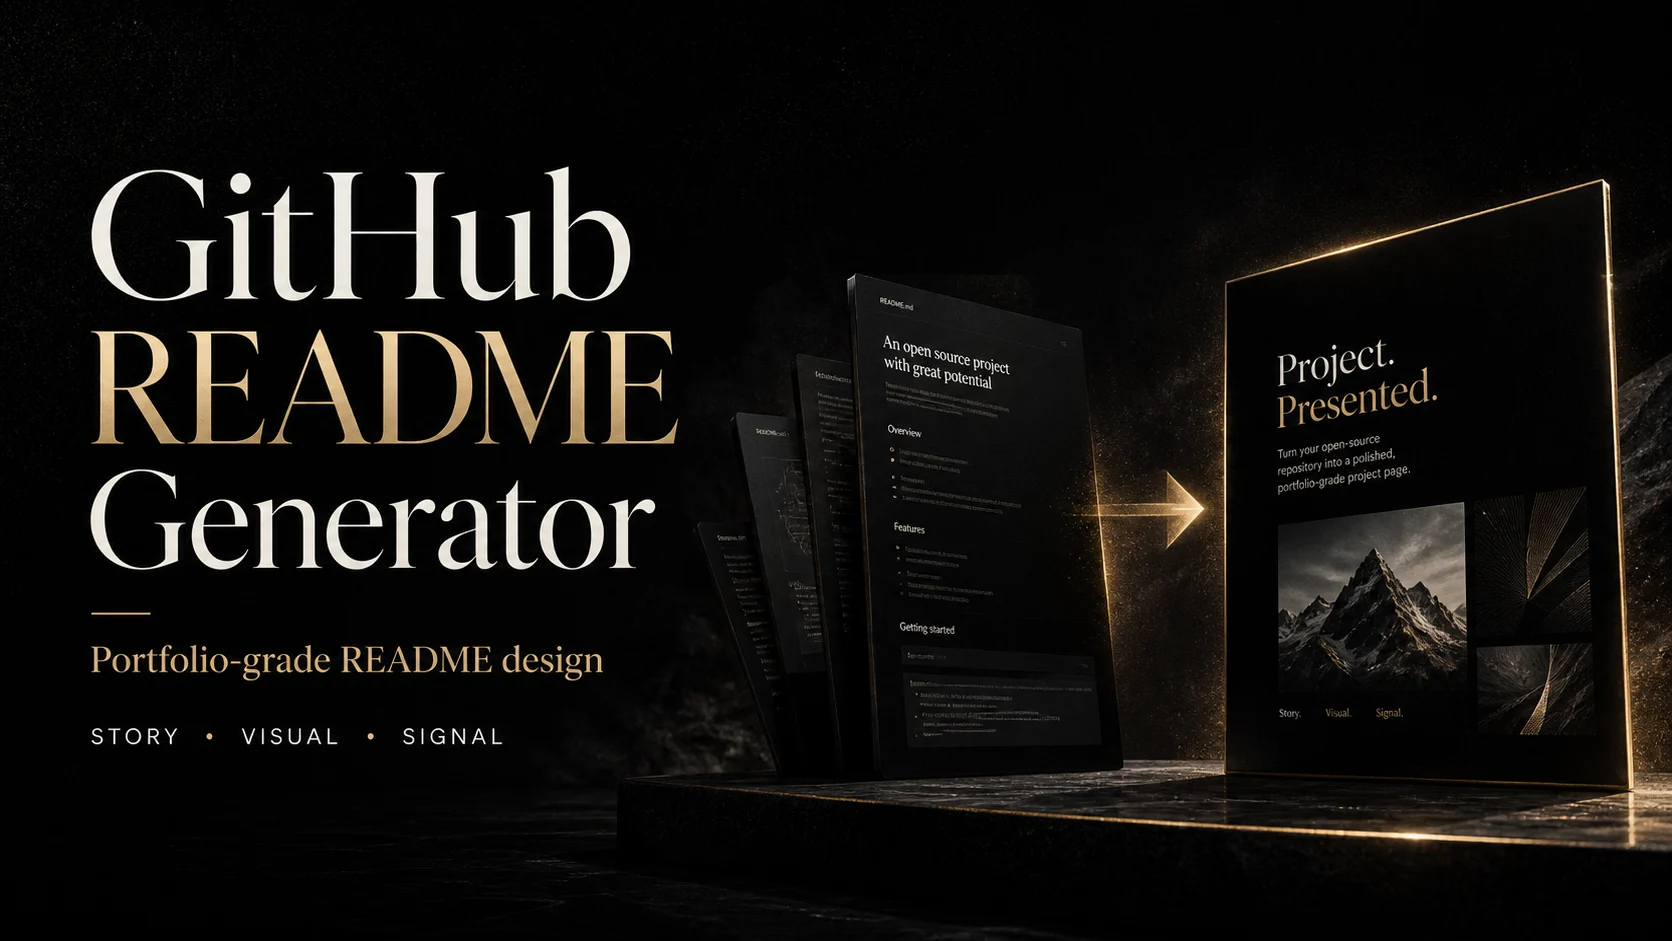
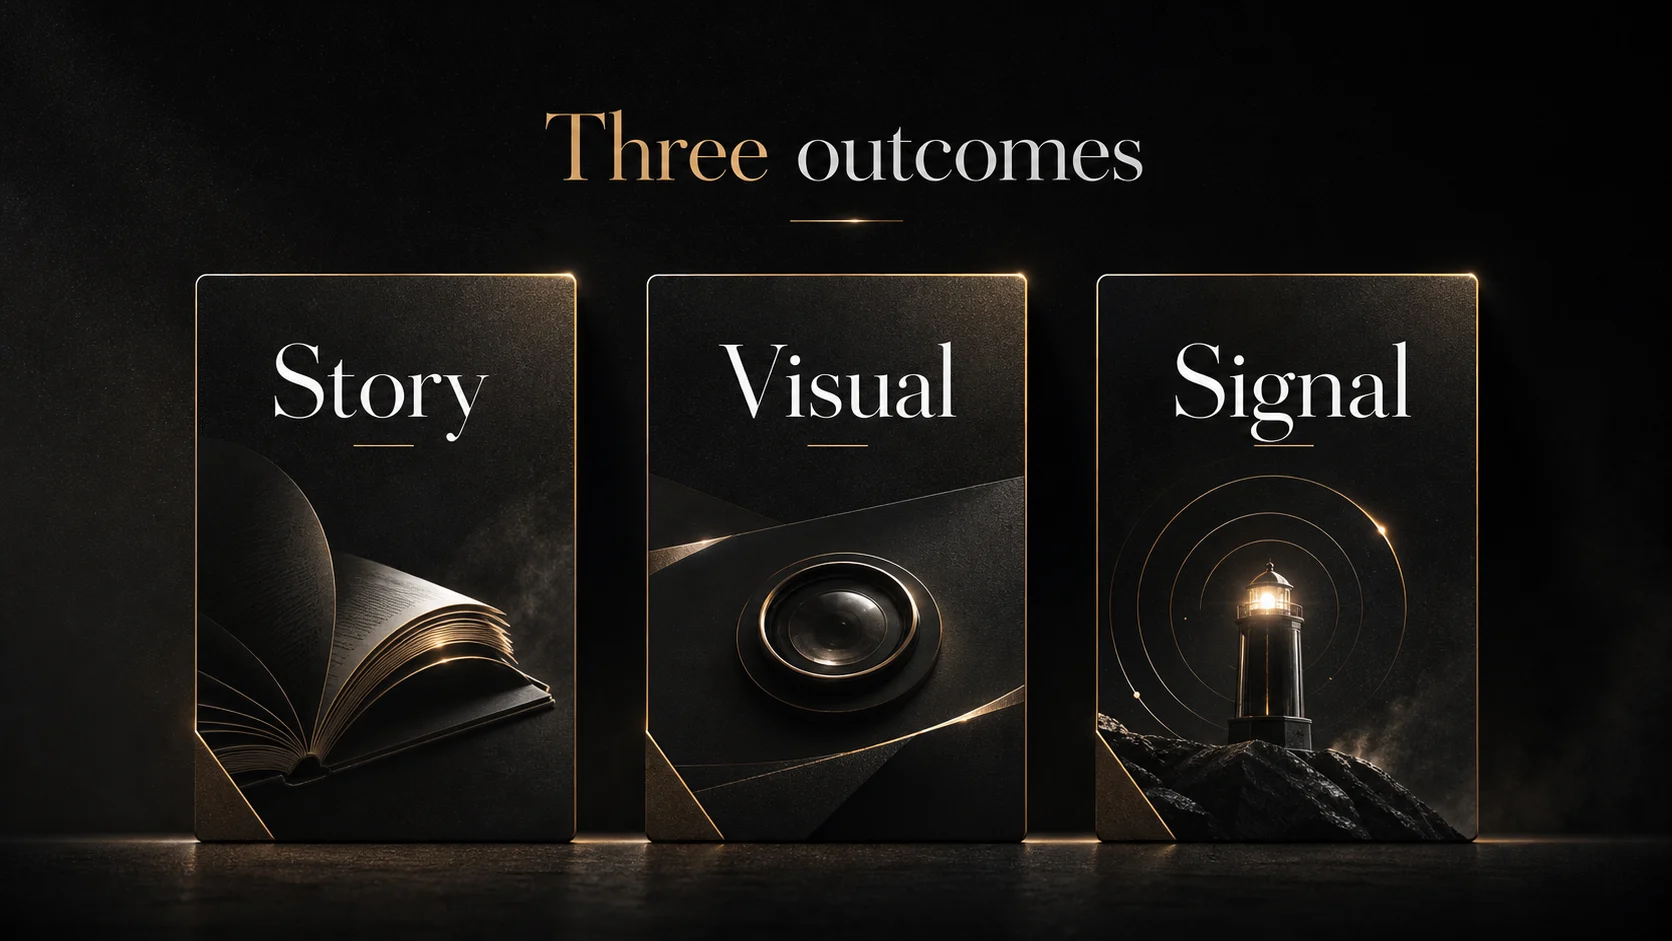
GitHub README Generator
The README is a project's first portfolio page. It's not a table of contents for a manual, nor a container for a feature list. It must answer three things in a very short time:
- What is this.
- Why is it worth looking at.
- How do I start using it.
The goal of this Skill is to generate 100-point README masterpieces: clear, aesthetic, restrained, credible, and allowing a project to be understood as a complete work.
First Principles
The README is a trust entry point and a path entry point, not full documentation. It should help someone opening the repo for the first time make a quick judgment:
- What problem does this project solve?
- Is it right for me?
- Can I immediately run, install, or learn more about it?
Open-source projects with 10k+ stars usually win not by information quantity, but by a clear top fold, a direct getting-started path, credible documentation entry points, and restrained community information. Images, badges, author info, and design concepts are just assistants; once they slow down understanding, they become noise.
This Skill's core trade-off: The README tells the project's story first, then beautifies. Visuals serve understanding; they don't replace it.
Quality Standards
Constrain all output using the following scorecard:
| Dimension | Points | Criteria |
|---|---|---|
| 15-second comprehension | 25 | The top fold conveys project name, value, and target audience. |
| Project story | 20 | Tells background, motivation, and results instead of just listing features. |
| Visual expression | 20 | Images look like artwork, not small-flowchart screenshots. |
| Quick start | 15 | Installation and usage path is short, clear, and copyable. |
| Credible artifact | 10 | Shows real output, capability boundaries, or results. |
| Restraint & noise reduction | 10 | Removes repetition, slogans, over-explanation, and decoration. |
Do not deliver a README scoring below 90. First, remove noise, amplify key points, and restructure the narrative.
High-star Project Baseline
Default to learning these structures from high-star open-source projects:
- Project name + one-sentence value proposition.
- Few necessary badges, no state decoration stacking.
- Quick start or documentation entry point placed early.
- Examples only when they lower the barrier to getting started.
- Contribution, community, security, and license sections are concise and clear.
- UI/product projects may include screenshots; libraries, SDKs, and infrastructure projects have minimal or no images.
Do not write the README as a design manifesto, a full manual, a feature wall, a social networking profile, or an internal workflow report.
Design Principles
Must Adhere To
- H1 must be the official project name, immediately followed by a value proposition.
- The README begins by explaining the project's value, then provides installation details.
- Images express only one key point, but should serve as the project's business card: let the reader see the project name and positioning at a glance.
- Default to a maximum of two images: one cover image and one core capability or result image.
- GitHub scales images down for display; main text in images must be designed at poster-size font.
- Descriptions of features should be specific but not exaggerated; use results to demonstrate, not self-praise.
- Keep author and license information concise; do not stack social links.
Must Avoid
- ASCII art titles.
- Emoji-decorated titles or author tables.
- Large paragraphs of empty "we are professional" fluff.
- More than 6 small cards stacked in one image.
- Flowcharts filled with stages, commands, and tiny text.
- Treating the third flowchart as a default artifact; the working mechanism is usually clearer in prose.
- Using Image Gen as a long-text layout tool.
- Writing the README as a complete product manual; detailed documentation should go into
docs/.
Overall Flow
Phase 0    Project reading and pattern recognition
Phase 1    Project story extraction
Phase 2    Visual generation method selection
Phase 3    Portfolio-grade visual asset generation
Phase 4    README assembly
Phase 5    GitHub metadata recommendations
Phase 6    Validation and delivery
Phase 0: Project Reading and Pattern Recognition
Read the project first, don't just write from a template.
Check:
ls
find . -maxdepth 2 -type f | sed 's#^\./##' | sort | head -80
Prioritize reading:
README.mdpackage.json/pyproject.toml/go.mod/Cargo.tomldocs/- Main entry point files
- Examples, screenshots, demo files
Determine scenario and visual budget:
| Scenario | How to Judge | Strategy | Max Images |
|---|---|---|---|
| New README | No README, or very short README | Full generation, but keep the path short | 1-2 |
| Upgrade README | Existing README with valid content | Preserve unique content, rewrite structure and top fold | 0-2 |
| Portfolio enhancement | User emphasizes aesthetics, story, showcase | Prioritize narrative and cover presentation | 2 |
| Pure documentation mode | SDK, library, backend tool, infrastructure | Few images, emphasize installation, API, documentation entry points | 0-1 |
| UI / product showcase | Has interface, screenshots, demo, visual results | Use real results or cover to aid understanding | 1-2 |
When upgrading an existing README, do not delete key content the user already has. First, extract retainable content, then restructure.
Noise Reduction Review
Before writing the README, mark which content should be moved out or deleted:
| Content | Default Action |
|---|---|
| Design scorecards, working principles, internal methodology | Place in SKILL.md or docs/; do not include in README |
| Generated file trees, template variables, script details | Keep only when user requests development documentation |
| Third flowchart | Delete; replace with 2-4 lines of prose or a short list |
| Too many social links | Keep only core entry points like GitHub/homepage |
| Overly broad feature lists | Consolidate into 3 result-oriented capabilities |
| Long background before installation | Shorten; move quick start earlier |
Phase 1: Project Story Extraction
Collect or infer 7 fields:
| Field | Description |
|---|---|
project_name | Official project name |
tagline | One-sentence value proposition, short and judgmental |
origin | Background of the project: why it was needed |
audience | Who will use it |
promise | What result it helps the user achieve |
proof | Real capabilities, screenshots, outputs, examples, metrics |
start | Shortest path to get started |
Do not ask too many questions. Infer from the project directly if possible; only ask the user when it affects narrative accuracy.
Recommended Narrative Structure
Project name
One-sentence value proposition
Visual cover (determined by project type)

What is this
Why is it needed
What you'll get
Quick start
Examples or output
How it works (prose, no default image)
Installation
License
Author
If the project leans towards a tool, library, or infrastructure, move "Quick start" right after "Why is it needed." The README's order should serve the reader's actions, not template completeness.
Phase 2: Visual Generation Method Selection
README images fall into two categories:
- Portfolio cover: Communicates the vibe, theme, and memorability.
- Structural explanation diagram: Communicates steps, capabilities, comparisons, and flow.
Select mode based on user intent:
| Mode | Applicable Scenario | Image Strategy |
|---|---|---|
portfolio | Default recommendation, suitable for projects needing to showcase a complete work feel | 1 cover + 1 core capability image |
clean-doc | SDK, library, backend tool, serious infrastructure | 0-1 images; prioritize quick start and examples |
visual-story | AI tools, design tools, standalone products, portfolio showcases | Max 2 images; Codex Image Gen handles memorability |
structured | User explicitly requests infographic, comparison, or flowchart | 1-2 HTML/CSS posters ensuring text accuracy |
Default to judging the project type first; do not force portfolio mode. Visual asset generation priority is fixed:
- Codex Image Gen Skill: Prioritize using Codex's built-in image generation capability for visual assets.
- Lightweight: README display images should be converted to WebP first, then written into the README reference path.
- HTML to PNG fallback: Only fall back to HTML/CSS template screenshots when Image Gen is unavailable, its output doesn't meet requirements, or the user explicitly requires structured precise text.
Do not treat HTML screenshots as the default path. They are a reliable fallback, not the primary visual solution.
Phase 3: Portfolio-Grade Visual Asset Generation
Default output uses two stable filenames:
assets/banner.webp
assets/features.webp
This keeps the README reference path stable, regardless of whether the image comes from Codex Image Gen or HTML screenshot fallback.
Image Responsibilities
| Image | Goal | Recommended Method |
|---|---|---|
banner.webp | Project business card; establish project name, positioning, and memorability | Codex Image Gen preferred |
features.webp | Communication image for core capabilities, results, or necessary flow | Codex Image Gen preferred; HTML fallback when text needs to be precise |
Do not generate workflow.png or workflow.webp by default. If the user explicitly requests a flowchart, merge the workflow content into features.webp or into the prose; do not add a third image.
Default Visual Style
All README visual assets use the same default style:
Black background, minimalist, cinematic lighting, high contrast, large negative space, low brightness, white/gray/warm gold three-color palette, premium magazine cover feel.
Surface quality: #050505 deep black background, subtle paper grain, shallow depth of field, volumetric haze, thin rim light, selective metallic highlights.
Quality target: 10k-star designer portfolio quality.
Design constraints:
- Background is primarily deep black
#050505. - Use only white, gray, and warm gold; do not introduce rainbow gradients, purple-blue neon, or high-saturation decorative colors.
- Use large negative space and local light instead of stacking elements.
- Images should contain a small amount of high-value text, serving communication and positioning, not long explanations.
- Less text is stronger: each image should only retain information that readers should still remember after leaving the README.
- Do not include paragraphs, commands, tables, stacked versions, or dense explanations.
Project Business Card Text Strategy
Default to using "project business card images," not pure atmosphere images.
| Image | Recommended Text | Limit |
|---|---|---|
banner.webp | Project name + one-sentence positioning + 1-3 short labels | 18 English words or 28 Chinese characters |
features.webp | 2-3 result phrases, optionally with a short title | 2-5 words per phrase |
Good text should be like a cover title, not a manual:
- The project name must be clear and should ideally be placed on
banner.webp. - The positioning line states the result, not a slogan, e.g., "Portfolio-grade README design for open source projects."
- Labels should only include the highest-value search and memory terms, e.g.,
Story,Visual,Signal. - Chinese can be used, but sparingly; English project names and short English labels are usually safer.
- If Image Gen miswrites text, retry once. If still inaccurate, keep Image Gen's visual base image but use an HTML/CSS fallback to render precise text.
- Do not sacrifice the accuracy of the project name and positioning for a "fully AI-generated" pipeline.
Minimum Font Size
When designing at 1920×1080:
| Element | Minimum Font Size |
|---|---|
| Main title | 92px |
| Chinese main title | 80px |
| Large card title | 48px |
| Body text | 28px |
| Auxiliary labels | 22px |
| Footer | 20px |
Do not use text below 18px. It becomes unreadable after GitHub scales the image down.
Codex Image Gen outputs only need to maintain a 16:9 aspect ratio and sufficient clarity; do not force-resample a good image just to fit 1920×1080. README display images should preferably be saved as WebP; 1920×1080 is the template size for the HTML-to-PNG fallback.
HTML to PNG Fallback
Only used when Image Gen is unavailable, the user requires precise structured text, or the Image Gen output fails validation:
node scripts/gen_infographic.mjs /tmp/readme-banner.html assets/banner.png 1920 1080
node scripts/gen_infographic.mjs /tmp/readme-features.html assets/features.png 1920 1080
node scripts/convert_webp_assets.mjs assets/banner.png assets/banner.webp assets/features.png assets/features.webp
Templates are located at:
templates/banner.html
templates/features.html
Template variables:
{{PROJECT_NAME}}
{{TAGLINE}}
{{PRIMARY_COLOR}}
{{CATEGORY}}
{{PLATFORM}}
{{LANGUAGE}}
{{VERSION_INFO}}
{{TECH_CARDS}}
{{FEATURE_CARDS}}
{{FEATURE_COUNT}}
Card structure:
{{TECH_CARDS}}: Used on the right side of the cover; recommend 2-3 items, only short labels and a single sentence of explanation.{{FEATURE_CARDS}}: Only 2-3 large cards; the first one can be marked asfeatured.- If a workflow needs to be expressed, use the 3 result stages of
features.webp; do not add a third image.
Codex Image Gen / gpt-image-2 Method
Default to calling Codex's built-in image generation capability; do not hardcode API scripts into the project temporarily.
Content suitable for Image Gen:
- README cover.
- Product atmosphere images.
- Portfolio visuals.
- Abstract concept images.
- Style extension based on existing images.
Content NOT suitable for Image Gen:
- Precise flowcharts.
- Large amounts of Chinese text or multi-paragraph explanations.
- Commands, versions, tables.
- Long texts or UI images requiring word-for-word accuracy.
Recommended prompt structure:
Use case: productivity-visual
Asset type: GitHub README visual asset, 16:9
Project: <project_name>
Story: <origin + promise>
Visual direction: black background, minimalist, cinematic lighting, high contrast, large negative space, low brightness, premium magazine cover
Texture and lighting: #050505 deep black background, subtle paper grain, shallow depth of field, volumetric haze, thin rim light, selective metallic highlights
Palette: white, gray, warm gold only
Composition: one strong visual idea, restrained, spacious, no dense UI
Quality bar: 10k-star designer portfolio quality
Text policy: include only high-value name-card text. Use the exact project name, one short positioning line, and optional 1-3 short labels. No paragraphs, commands, tables, tiny captions, or decorative text.
Avoid: emoji, clutter, fake interface text, tiny labels, generic gradients, bright neon, overdesigned dashboards
If Image Gen is not supported, cannot be called, or produces incorrect text/style deviations, first retry with a shorter text prompt. If still inaccurate, fall back to the HTML-to-PNG fallback process to carry precise text.
Image Lightweighting
README display images default to WebP. WebP is generally more suitable for README loading than PNG; PNG is used only as an intermediate artifact for HTML screenshot fallback, for transparent images, or when lossless preservation is required.
Default command:
npm run webp
If the project has no WebP conversion script, prefer using cwebp, sips, or available lightweight tools. Do not introduce heavy dependencies for conversion. If conversion is not possible, keep PNG and explain why.
Visual Inspection
After generating each image, check:
- Still readable when scaled down to GitHub README display width.
- One image only conveys one key point.
- No tiny text stacking.
- Project name and positioning line are immediately visible.
- No spelling errors, garbled text, or fake script in the image.
- No excessive decoration.
- Visual style is consistent with the project story.
- Image Gen images have no incorrect text or unwanted watermarks.
- Image remains clear after compression, with no significant banding, noise artifacts, or blurry text edges.
Phase 4: README Assembly
Default structure:
<div align="center">
# Project Name
**One-sentence value proposition**
<img src="assets/banner.webp" alt="[Project Name] — [Value Proposition]" width="100%">
[](./LICENSE)
</div>
---
## What is this
[2-3 sentences describing the project, context, and result.]
## Why is it needed
[Describe the real problem; do not list anti-patterns.]
## What you'll get
<img src="assets/features.webp" alt="[3 core capabilities]" width="100%">
## How it works
[2-4 lines describing the working mechanism; do not include a third image by default.]
## Quick start
[Shortest executable path.]
## Installation
[Dependencies and installation commands.]
## License
[MIT](./LICENSE)
## About the author
[Concise author information.]
Rules:
- Do not exceed 3 badges unless the project absolutely requires status indicators.
- Do not repeat the same feature list after an image.
- Do not cram "Design Principles," "Project Structure," and "Generated Content" all into the README; only keep what is useful for the reader.
- Do not include a third workflow image by default; two images are sufficient to convey the portfolio feel and core information.
- For detailed explanations, place them in
docs/; the README only serves as an entry point.
Phase 5: GitHub Metadata Recommendations
Repository Description and Topics are entry points for GitHub search, Trending associations, AI search references, and quick human judgment. They are not README content and should not be written into README.md; only output them as independent suggestions in the final reply.
First-Principles Goal
- Description answers: What result does this project create and for whom?
- Topics answers: Which search buckets should this project be placed into?
- Recommended quantity is determined by signal quality, not quantity; 7-9 high-quality topics are usually better than 20 topics.
- Trending / SEO / GEO balance: Cover hot search terms while maintaining project factual accuracy for easy AI reference.
Description Generation Rules
Generate 3 candidates and score each one:
[Verb] [specific outcome] for [audience] — [1-3 precise keywords]
Hard constraints:
- English preferred, ≤ 160 characters.
- Start with a verb: Design / Generate / Build / Create / Convert / Automate.
- Include the project's 2-3 most core keywords.
- No emoji, exclamation marks, or marketing adjectives.
- Do not write capabilities unsupported by project facts.
Scoring:
| Dimension | Points | Judgment |
|---|---|---|
| Accuracy | 40 | Faithful to the project's real capabilities |
| Search value | 25 | Covers common GitHub/Google search terms |
| AI citability | 20 | Instantly understandable by ChatGPT / Claude / Perplexity |
| Restraint | 15 | No exaggeration or fluff |
Star rating:
| Score | Stars |
|---|---|
| 90-100 | 5 stars, recommended for use |
| 80-89 | 4 stars, usable but could be more concise |
| 70-79 | 3 stars, only suitable as an alternative |
| < 70 | Not recommended |
Topics Generation Rules
First, build a candidate pool, then filter the final recommendations.
Candidate sources:
- Project type:
agent-skill,cli-tool,developer-tools,documentation - Core technology:
nodejs,playwright,codex,image-generation - Application domain:
readme,github-readme,open-source,portfolio - Current trends: AI agent, image generation, developer tooling, documentation automation
- Keywords appearing in the project's actual files and README narrative
Filtering rules:
- Recommend 7-9, no more than 10, unless the project spans multiple clear domains.
- Topics must be lowercase, using only letters, numbers, and hyphens.
- Remove overly broad words:
software,tool,app,github,project,ai. - Remove duplicate words:
readmeandgithub-readmecan coexist;open-sourceandopensourcekeep only one. - Do not add inauthentic topics to chase trends.
Provide a star rating and reason for each topic:
| Stars | Meaning |
|---|---|
| 5 stars | Highly relevant, high search value, should be included |
| 4 stars | Relevant with discovery value, can be included |
| 3 stars | Some relation, but not core enough |
| 2 stars | Weak correlation, usually not recommended |
| 1 star | Noise, do not include |
Output format:
Recommended GitHub Description:

1. ★★★★★ <description>
   Reason: ...

2. ★★★★☆ <description>
   Reason: ...

Final recommendation: <description>

Recommended GitHub Topics:

Include:
- ★★★★★ github-readme — Precisely describes the project's use case
- ★★★★★ agent-skill — Fits the project's form
- ★★★★☆ image-generation — Include when the project supports Image Gen

Do not include:
- ★★☆☆☆ ai — Too broad, search noise
- ★★☆☆☆ github — Too broad, doesn't help categorization
Optional gh CLI Update
If the user has gh installed, the current directory is already a Git repository, and a GitHub remote can be parsed, you can suggest that the user let the Agent use gh repo edit to update. Do not update without permission; you must first present the content to be executed and wait for user confirmation.
Check:
gh --version
git remote -v
Suggested command format:
gh repo edit OWNER/REPO \
  --description "<final-description>" \
  --add-topic topic-one \
  --add-topic topic-two \
  --add-topic topic-three
If you need to replace old topics, first read the current topics, then only remove explicitly non-recommended items:
gh repo view OWNER/REPO --json description,repositoryTopics
gh repo edit OWNER/REPO --remove-topic old-topic --add-topic new-topic
Note: git Cannot Update Repository Metadata
The git command cannot modify a GitHub repository's Description or Topics. Reason: Description and Topics are GitHub platform metadata, not Git repository commit, branch, tag, or remote configuration.
git remote -v can only be used to identify OWNER/REPO, not to update metadata.
If gh is not available, only provide the recommended values and let the user manually update them on the GitHub page; do not provide complex alternative commands.
Do not save these recommendations in the README file; they are operational suggestions for the user during delivery.
Phase 6: Validation and Delivery
Must validate before delivery:
node --version
npm run showcase
file assets/banner.webp assets/features.webp
git status --short
If templates or actual images were modified, WebP must be regenerated and opened for inspection.
The final report should only clearly state:
- What was changed.
- What the result is.
- Which validations have been run.
- Whether any points still need a user decision.
Do not write implementation details and lengthy processes to the user.